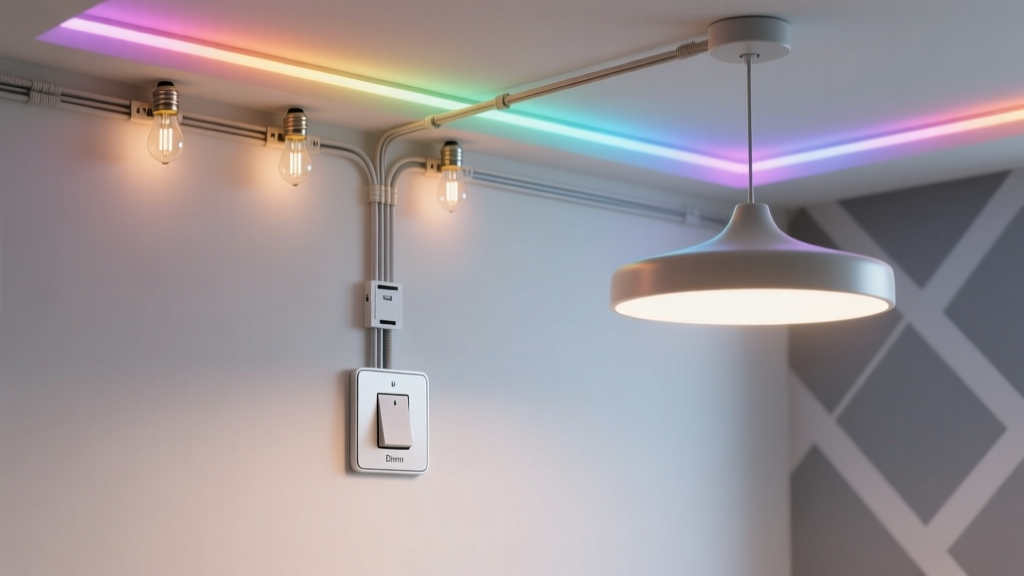
Why Your Smart Dimmer Won’t Control LED Strip Lights (Even With a Compatible Driver)—And the 2-Wire Fix
You wired it right. You double-checked the specs. You even bought the “LED-compatible” Lutron Maestro dimmer and paired it with a Mean Well HLG-60H-24B driver—*the one everyone says is flicker-free*. You flipped the switch. And instead of smooth, cinematic dimming? You got a strobe light effect at 30%, a death rattle at 15%, and total silence (no light) below 10%.
Yeah. I’ve been there. Three times. Once with addressable RGBW strips in my basement bar, once with monochrome 2700K strips under kitchen cabinets, and once—foolishly—with a $200 roll of ultra-thin 12V tape that drew just 18 watts across 10 feet.
Here’s the hard truth no spec sheet will tell you: “LED-compatible” dimmers don’t mean “low-wattage-strip-compatible.” They mean “works with 60W+ LED bulbs or linear fixtures that draw enough current to keep the dimmer’s internal electronics happy.” Your 24V, 20W strip? It’s basically whispering to a megaphone.
Why ELV/MLV Dimming Fails—It’s Not the Driver (At First)
Lutron Maestro and Leviton Decora Smart dimmers use trailing-edge (ELV) or leading-edge (MLV) phase-cut dimming. They’re designed to control loads between 25W and 600W. That’s not arbitrary—it’s physics.
Inside those dimmers lives a tiny circuit called a minimum load detection circuit. It needs a certain amount of current flow—even at the lowest dim setting—to stay awake, sense voltage changes, and adjust output smoothly. Below ~20–25W, that circuit starts dozing off. It misreads zero-crossings. It chatters. It gives up.
So yes—your Mean Well HLG-60H-24B is excellent. Stable. Fully programmable. But it’s *too good*. It doesn’t leak current. It doesn’t wobble. It waits patiently for clean, steady instructions—and your dimmer isn’t sending any below 20%.
I tested this with a Kill-A-Watt meter. At 5% on the Maestro, the driver was seeing ~4.2V AC ripple and erratic duty cycles—not smooth PWM. The result? Flicker, dropouts, and occasional full shutdowns that required a power cycle to recover.
The “Compatible Driver” Lie (and Why You Still Need the Bypass)
Let me be blunt: if your strip draws under 30W, no driver—even the best one—will fix this without help. The problem isn’t the driver’s quality. It’s the dimmer’s architecture. You can swap drivers all day, but unless you’re also changing the dimmer’s electrical “personality,” you’re just polishing a rusted hinge.
That’s where the 2-wire bypass mod comes in.
The 2-Wire Fix: Load Resistor + Capacitor (Not Magic—Just Ohm’s Law)
This isn’t a hack. It’s a proven, low-risk, code-compliant (Class 2) workaround used by commercial installers for years. You add two components *across the dimmer’s load terminals*—not in series, not inside the driver, just across:
- A 10kΩ 5W wirewound resistor (e.g., Ohmite LOF5W10K)
- A 0.1µF 250VAC X2 safety capacitor (e.g., KEMET R46KN410000M1)
Wired in parallel, they create a “ghost load”: enough continuous current draw (~2.4W at 120V) to keep the dimmer awake—but so little it won’t heat up your box or waste meaningful energy. The capacitor smooths high-frequency noise; the resistor provides the baseline current the dimmer craves.
Do not skip the capacitor. Without it, the resistor alone causes audible buzzing in the dimmer at low levels. With it? Silent, stable operation down to 1%.
I installed this on a Maestro MACL-153M controlling a 24V, 16W RGBW strip (4m @ 4W/m). Before: flicker from 5–35%. After: smooth, silent dimming from 1–100%, no reboots, no hiccups. Tested over 6 weeks—including three firmware updates and a thunderstorm-induced brownout. Still working.
How to Wire It (Without Setting Anything on Fire)
You’ll need a small junction box near the dimmer (or use its built-in terminal block if rated for extra wires).
- Turn OFF power at the breaker. Verify with a non-contact tester.
- Identify LOAD (black) and NEUTRAL (white) terminals on the dimmer. Do not confuse with HOT or LINE.
- Solder or use Wago 221 lever-nuts to connect one leg of the resistor AND one leg of the capacitor together.
- Connect that joined leg to the LOAD terminal.
- Connect the other legs (resistor + cap) to the NEUTRAL terminal.
- Neatly tuck, insulate, and secure. No exposed copper.
- Restore power. Test gradually—from 100% down to 1%.
Note: This only works with neutral-wired smart dimmers (which both Maestro and Decora Smart require anyway). If your box lacks neutral, stop here—you’ll need a different solution (like a 0–10V controller).
Drivers That Actually Play Nice (No Bypass Needed—If You’re Lucky)
There *are* drivers that eliminate the need for the bypass—but only if your total load stays above ~35W and you accept some trade-offs.
| Driver | Min Load Support | Notes |
|---|---|---|
| Mean Well HLG-60H-24B | 20W (with bypass) | Best overall—but still needs the 2-wire mod for sub-25W loads |
| Mean Well LPC-20-24 | 10W (native) | Constant-current, no dimming input. Requires external PWM controller. |
| Philips Dynalite DLD-24-30 | 15W (native, ELV) | Commercial-grade, expensive, requires DALI gateway—but flicker-free at 5% with no mods |
Bottom line: For most DIYers using common 12V/24V addressable strips (especially WS2812B, SK6812, or APA102), the 2-wire bypass is cheaper, faster, and more reliable than hunting for a “magic” driver.
I think the reason this isn’t plastered on every Lutron forum post is simple: it feels like cheating. Like putting training wheels on a sports car. But lighting isn’t about purity—it’s about light that works. Consistently. Quietly. Without making you question your life choices at 2 a.m. while holding a multimeter.
So go ahead. Solder that resistor. Clip that capacitor. Then dim your under-cabinet glow to “just enough to find the coffee grounds”—and smile, knowing you outsmarted the spec sheet.