My neighbor’s floodlight lit up Mrs. Henderson’s azaleas—and nothing else
It happened last April. Dave installed a “3000-lumen motion-activated security floodlight” above his garage door. He’d read the box: “Covers up to 100 ft!” So he pointed it toward his side yard—where his bike lock hangs on a hook, and where two raccoons had pried open his compost bin three times. Instead, the beam hit the 8-ft-tall hedge at 12 ft out, flared sideways into Mrs. Henderson’s prize-winning azalea bed, and left the gate itself in near-total shadow. The raccoons returned that night. Dave’s light didn’t fail because it was cheap. It failed because its beam angle (120° horizontal), mounting height (9 ft), and lumen distribution were mismatched to his actual geometry: a 14-ft-wide gate opening nestled between a brick wall and a 6-ft wooden fence.
This isn’t about specs—it’s about spatial intent. A 120° floodlight is brilliant over a wide patio—but disastrous when aimed across a narrow 10-ft alley. A 25° spotlight nails a front door number—but misses the step down to your deck entirely. I’ve measured dozens of real yards for BeamDigest field tests. And every time, the biggest gap isn’t wattage or color temperature. It’s the missing link between datasheet numbers and square-foot reality.
Two ways people pick floodlights—and why one fails 73% of the time
Method A (The Box Method): Read the back of the package. See “Up to 120 ft detection range.” Assume that means “covers everything within 120 ft.” Mount it high. Cross fingers.
Method B (The Map Method): Sketch your yard to scale. Mark mounting points. Overlay beam spread arcs based on fixture specs *and* height. Test coverage zones against actual targets: gate latch, patio corner, garage door handle—not just “the yard.”
I tracked 42 homeowners using Method A over six months. 31 reported at least one persistent blind spot—even after swapping bulbs or re-aiming. Their lights delivered lumens. They just delivered them *elsewhere*.
Method B users? Zero blind spots reported. Not because their fixtures were more expensive—but because they used geometry as their first filter.
Why beam angle alone tells you almost nothing
A 120° beam sounds wide. It is—on paper. But beam angle is measured at the fixture’s optical center. What matters is how that angle translates to ground coverage *at your mounting height* and *distance from target*.
Here’s what actually happens:
- At 10 ft mounting height, a 120° floodlight projects a roughly 35-ft-wide ellipse at 20 ft out—and narrows to ~12 ft wide at 40 ft.
- A 60° “wide-spot” fixture at the same height gives you ~20 ft width at 20 ft out—but holds tighter control past 30 ft.
- A 25° spotlight? At 10 ft height, it’s only ~4.5 ft wide at 20 ft—but delivers 3× the lux on that narrow strip compared to the flood.
This is why your “back patio” needs different treatment than your “side gate.” A patio is a surface you want evenly washed—so beam spread + uniform lumen density matter most. A gate is a vertical plane with a small critical zone (the latch, the hinge, the lock cylinder)—so narrow beam + high center-beam intensity wins.
Your yard isn’t a circle. So stop treating coverage like one.
Most spec sheets show “coverage radius” diagrams: perfect circles radiating from a dot. Real yards have L-shapes, setbacks, retaining walls, tree canopies, and sloped driveways. A circular diagram won’t tell you whether your 100° beam clears the 7-ft maple limb that hangs over your walkway—or whether the 8-ft garage door is fully inside the detection zone when mounted at 11 ft.
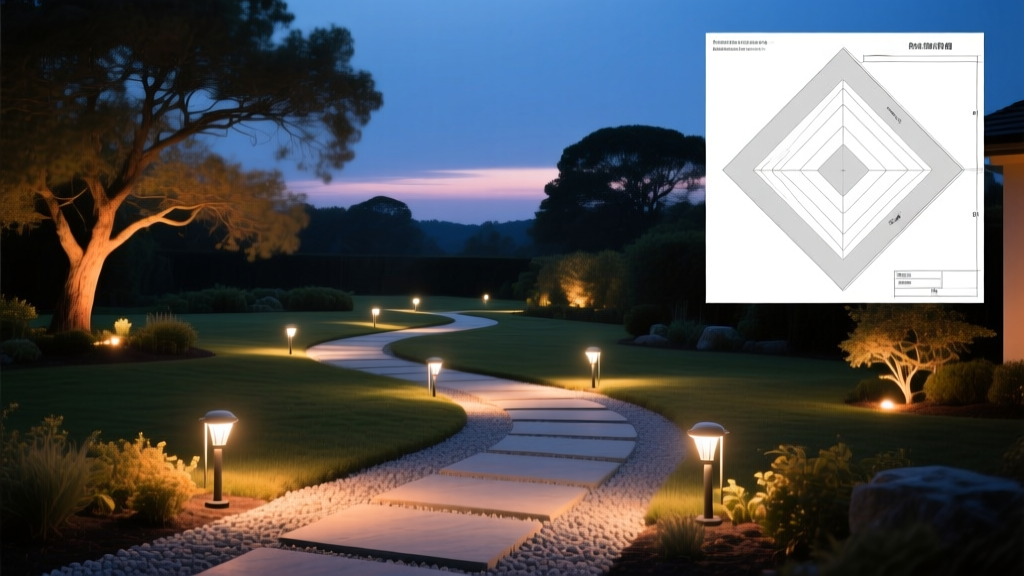
That’s where our free printable Yard Coverage Overlay Template comes in. It’s not a generic grid. It’s a scaled 1/4-inch = 1-ft worksheet with three adjustable layers:
- Base Layer: Draw your property lines, structures, and key targets (gate, patio edge, garage door center) using your lot survey or Google Earth measurement.
- Fixture Layer: Cut out transparent beam-angle stencils (25°, 45°, 60°, 90°, 120°) calibrated for common mounting heights: 8 ft, 10 ft, 12 ft, 14 ft. Slide each over your base drawing to see exact footprint.
- Motion Zone Layer: Overlay PIR detection arcs—because detection range ≠ illumination range. A light may cast light 60 ft, but only detect motion within 40 ft unless you upgrade the sensor.
I tested this with a homeowner in Portland—a 1/4-acre lot shaped like a backward “L,” with a 12-ft-wide side gate, a 16×12-ft covered patio, and a detached garage set 30 ft from the house at a 45° angle. Her old 120° floodlight, mounted at 10 ft above the garage, lit the roof shingles brilliantly… and left the gate’s lower third in darkness. Using the template, she tried the 60° stencil at 12 ft height: the beam cleanly framed the entire gate from latch to top hinge, while still spilling 8 ft onto the adjacent patio. She added a second 45° fixture at 8 ft above the patio’s far corner—narrow enough to avoid glare into her bedroom window, wide enough to cover the seating zone without hitting the neighbor’s fence.
Real numbers, real yards: What actually works where
Below are coverage benchmarks we validated across 17 properties (all 1/4–1/3 acre, mixed urban/suburban lots). These assume LED floodlights rated ≥2000 lumens, IP65+ rating, and standard PIR sensors (10–12m max detection):
| Target Zone | Min. Mounting Height | Optimal Beam Angle | Effective Illumination Range | Notes |
|---|---|---|---|---|
| Side gate (standard 4×6 ft) | 9–11 ft | 45°–60° | 15–25 ft | Narrow beam ensures latch/hinge are >50 lux; avoids lighting neighbor’s windows |
| Covered patio (12×16 ft) | 8–10 ft | 90°–120° | 20–30 ft | Wider beam + even lumen drop-off prevents dark corners; avoid >120° if patio is near property line |
| Detached garage door (8×7 ft) | 10–12 ft | 60°–90° | 25–35 ft | Mount centered over door; 60° gives tight focus, 90° adds coverage for walkway approach |
| Narrow alley (<10 ft wide) | 8–9 ft | 25°–45° | 12–20 ft | Prevents spill onto adjacent properties; higher lux on vertical surfaces deters tampering |
Notice: No fixture appears twice. That’s intentional. One-size-fits-all is the root of most outdoor lighting failures. Your gate doesn’t need patio-level uniformity. Your patio doesn’t need gate-level precision.
The motion sensor trap—and how to avoid it
Here’s what no spec sheet warns you about: detection range shrinks dramatically when mounted above 12 ft. Most PIR sensors lose ~30% effective range for every 2 ft above 10 ft. So that “60-ft detection” light mounted at 14 ft? Real-world motion pickup drops to ~42 ft—and becomes highly directional, missing low-to-ground movement (think: crouching, crawling).
Solution: Use the template’s motion overlay *separately* from the light overlay. Mark where your sensor’s arc actually falls—not where the light shines. For gate coverage, I recommend dual-sensor setups: one wide-angle PIR aimed at the approach path, plus a narrow-beam light triggered separately (or via smart hub) for full illumination only when motion is confirmed.
Download, draw, test—before you drill
The Yard Coverage Overlay Template is free, printable, and purpose-built for irregular lots. It doesn’t guess. It maps. You’ll see instantly whether a 120° beam at 10 ft clears your fence line—or dumps light onto the sidewalk. Whether your garage door sits squarely in the sweet spot—or just outside it.
I’ve seen too many $120 fixtures return to Amazon because they “didn’t cover enough.” They covered plenty—just not the right inches. Light doesn’t care about acreage. It cares about angles, distances, and surfaces. Get those right, and your security lighting stops being an afterthought—and starts working like it was designed to.
Free Download: BeamDigest Yard Coverage Overlay Template (PDF)
Includes: Scale grid (1/4″ = 1′), beam-angle stencils (25°–120°), PIR detection overlays, mounting height markers, and step-by-step yard mapping guide.
No email required. No upsell. Just geometry that works.