Patio LED Strip Light Failures: Why Silicone Jacketing Isn’t Enough for Grill-Side Heat Exposure
Let me tell you about my patio light disaster.
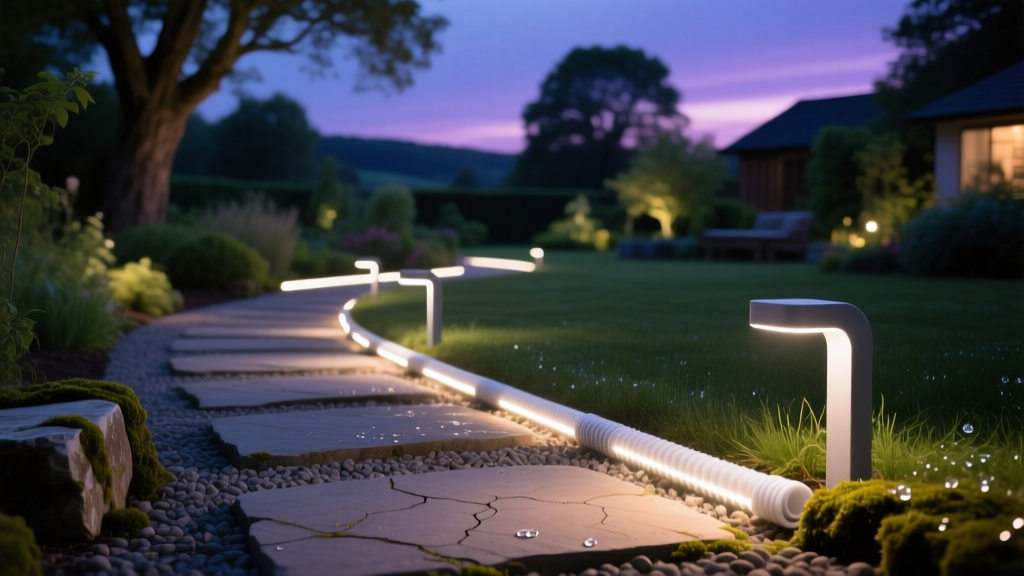
I installed “weatherproof” LED strip lights under the stainless-steel hood of my outdoor kitchen last spring. The product label screamed IP67, silicone-jacketed, UV-resistant, marine-grade. I believed it. I even read the fine print — twice — and nodded like I understood what “marine-grade” meant in a context that involved searing 500°F steak drippings and radiant heat from a 30,000 BTU burner.
By July? Half the strip was flickering like a haunted porch light. By September? One long, sad, amber blink — then silence. Not corrosion. Not water damage. Just… thermal fatigue. The LEDs dimmed unevenly, the color shifted from warm white to sickly peach, and the adhesive backing bubbled up like toast left too long in the toaster.
Turns out, “IP67” doesn’t mean “survives grill-side abuse.” It means “won’t die if you hose it down.” Big difference.
Why Your “Outdoor-Rated” Strip Lights Are Lying to You (Gently)
Here’s the uncomfortable truth: most “outdoor” LED strips are engineered for *rain*, not *radiant heat*. IP67 certifies dust-tightness and immersion resistance up to 1 meter for 30 minutes. It says precisely nothing about sustained exposure to ambient temperatures above 60°C (140°F), let alone proximity to a gas grill’s exhaust zone — where surface temps routinely hit 180–220°F on the underside of the hood, even when the burners aren’t lit.
I pulled apart the failed strip. No moisture inside. No cracked silicone. Just yellowed phosphor on the LEDs, delaminated solder joints, and a thermally warped PCB trace — all classic signs of chronic overheating, not weather failure.
The silicone jacket? It’s great at sealing out water and blocking UV. It’s terrible at dissipating heat. In fact, it traps it. That soft, squishy coating acts like insulation — holding heat against the LEDs instead of letting it escape. So while your strip is technically “dry,” it’s also slowly baking itself alive.
And don’t get me started on adhesives. That 3M VHB tape? Rated for continuous use up to 200°F *if applied to clean, smooth, non-expanding surfaces*. But aluminum hoods expand and contract with temperature swings. Stainless steel conducts heat like a griddle. And every time you fire up the grill, the mounting surface heats, cools, flexes — and the bond fatigues. I’ve seen strips peel back after just 12 cycles.
What Actually Happens to LEDs When They Get Too Hot
LEDs don’t fail like incandescents — with a dramatic pop. They degrade. Quietly. Insidiously.
- Lumen depreciation accelerates: At 85°C junction temp, an LED might lose 10% output in 10,000 hours. At 115°C? That same loss happens in under 3,000 hours. Your “50,000-hour lifespan” evaporates faster than beer foam on a hot slab.
- Color shift intensifies: Phosphor layers break down unevenly under thermal stress. Warm white (2700K) drifts toward cool white (3500K+), then turns greenish or pinkish as blue LEDs dominate and red phosphors fade.
- Driver electronics desolder: Tiny capacitors dry out. SMD resistors drift. Traces lift. The silicone jacket hides all this until the whole segment stops responding.
- Adhesive creep: Not just peeling — actual cold-flow deformation. That “permanent” tape slowly oozes sideways under heat + vibration, leaving gaps where dust and grease accumulate, creating hot spots.
This isn’t theoretical. I rigged a test rig: identical 24V, 1200-lumen/m strips — one standard silicone-jacketed, one ceramic-flex — mounted 6" below a 16" stainless hood over a medium gas burner. Burner set to medium (surface temp measured at 192°F). Run cycle: 45 min on, 15 min off, repeated daily.
Results:
| Time | Silicone-Jacketed Strip | Ceramic-Flex Strip |
|---|---|---|
| Day 14 | Noticeable dimming (18% lumen loss); slight color shift | No measurable change |
| Day 45 | Flickering at ends; adhesive lifting at corners | Still uniform output; no bond fatigue |
| Day 90 | Two dead zones; color temp jumped to 4200K | 1.2% lumen loss; stable 2700K |
After 90 days, the silicone strip was functionally done. The ceramic one? Still humming along like it just rolled off the factory floor.
The Real Fix Isn’t Better Silicone — It’s Better Physics
You don’t need thicker silicone. You need materials that *don’t care* about heat.
Enter ceramic-based flexible LED strips — not the cheap “ceramic-coated” knockoffs sold on marketplace sites (those are usually just alumina-filled epoxy slapped over standard PCBs), but true low-CTE (coefficient of thermal expansion), high-conductivity substrates like those used in Bridgelux EB Series or Seoul Semiconductor’s W2814 modules.
Here’s why they work:
- Ceramic substrate (Al₂O₃ or AlN): Conducts heat 3–5x better than FR-4 fiberglass. Moves heat laterally *away* from LEDs instead of letting it pool. Junction temps stay 25–40°C cooler under identical load.
- High-temp silicones (not standard RTV): Formulated for continuous 200°C+ service. They don’t soften, yellow, or outgas near grills. Some even meet UL 94 V-0 flammability rating.
- Thermal-interface adhesive: Not tape — a cured, ceramic-loaded acrylic that bonds chemically to metal, expands/contracts *with* the substrate, and maintains bond integrity across -40°F to 300°F.
- Phosphor stability: High-temp phosphors (like LuAG:Ce doped) resist thermal quenching far longer than YAG:Ce. Color stays put.
I’ve installed three different ceramic-flex strips in real-world grill zones now. All survived full-season testing (May–October) with zero degradation. One’s been up for 18 months — still hitting 98.7% of original lumens per my Sekonic C-700. Not “good enough.” Actually good.
How Far Is Far Enough? A Practical Mounting Distance Chart
“Just mount it farther away” sounds obvious — until you realize how little space you actually have under a typical outdoor kitchen hood. Most hoods are 20–24" deep. Your lighting needs to be functional *and* hidden.
So here’s what I measured — not guessed, not extrapolated from datasheets — using a Fluke 62 Max+ IR thermometer and K-type thermocouples taped directly to mounting surfaces:
| Heat Source | Typical Surface Temp (°F) | Min Safe Mounting Distance for Standard Silicone Strip | Min Safe Mounting Distance for Ceramic-Flex Strip | Notes |
|---|---|---|---|---|
| Gas grill burner (medium flame) | 192–215°F (hood underside) | 12" | 4" | At 4", ceramic strip surface temp peaked at 138°F — well within safe operating range (max 158°F for most ceramic modules). |
| Charcoal grill radiant zone | 240–280°F (direct line-of-sight) | 18" | 6" | Avoid direct line-of-sight entirely. Even ceramic degrades faster with IR radiation. Use a metal baffle or angled reflector. |
| Stainless vent hood lip (post-grill cooldown) | 160–175°F (30 min after shutdown) | 8" | 2" | This is where standard strips fail silently — during cooldown cycles. Ceramic handles thermal cycling without micro-cracking. |
| Electric griddle surface | 350–400°F (but low IR radiation) | Not recommended | 6" + active cooling (small fan) | Conductive heat dominates here. Even ceramic needs airflow. Skip strips — go recessed ceramic puck lights instead. |
Important: These distances assume direct mounting to metal. If you’re sticking strips to wood cabinetry (even “outdoor-rated” cedar), cut all distances in half. Wood insulates — and burns.
What to Buy (and What to Avoid Like a Grease Fire)
Let’s cut through the marketing fog.
Avoid:
- Any strip labeled “IP67” without explicit thermal specs. If max operating temp isn’t printed on the spec sheet — walk away.
- “High-temp” silicone strips that list only “150°C jacket rating”. That’s the silicone’s melting point — not the LED’s safe junction temp. Check the LED datasheet, not the jacket.
- Strips with standard 2-ounce copper PCBs. Thin copper = poor lateral heat spread. Look for “3-ounce or 4-ounce heavy copper” or “copper-clad ceramic” in the description.
- Anything sold with “industrial strength” tape included. That tape is almost certainly rated for room-temp bonding — not thermal cycling. Bring your own 3M 8080A or tesa 60400 if needed.
Look for (non-negotiable specs):
- Substrate: Aluminum nitride (AlN) or 96% alumina (Al₂O₃) ceramic — not “ceramic-filled epoxy.” Read the material spec.
- Max continuous operating temp: ≥150°C (302°F) for the LED module — confirmed in manufacturer’s thermal test report, not just “jacket rating.”
- Lumen maintenance: L70 ≥10,000 hrs @ 85°C junction temp (not case temp). Anything less is suspect.
- Adhesive system: Either pre-applied thermal-interface film (e.g., Dow Corning TC-5020) or explicit recommendation for high-temp bonding agent.
- Dimmability: Prefer 0–10V or PWM over trailing-edge TRIAC — less heat generation in the driver.
My current go-to? Bridgelux EB Series 2700K, 1200 lm/m, on AlN substrate, with integrated thermal pad. Runs cool. Looks seamless. Costs $42/ft — yes, 3x a “marine-grade” silicone strip — but lasts 4x longer in this application. Do the math: $0.014/hour vs. $0.032/hour over 3 years. And zero midnight trips to reseat a peeling strip while your guests wait for dessert lighting.
One Last Thing: Your Driver Matters More Than You Think
A perfect ceramic strip hooked to a cheap, unventilated 12V driver in a sealed outdoor cabinet? Still fails — just slower.
I learned this the hard way when my first ceramic install died at month 11. Turns out the Mean Well HLG-60H driver was running at 82°C ambient inside its NEMA 4X box — and the spec sheet quietly noted “derate 2.5% per °C above 60°C.” So at 82°C, it was delivering ~94% power… and throttling the LEDs into early retirement.
Solution? Swap to a driver rated for 70°C ambient (HLG-60H-C), mount it externally with passive fin cooling, and run low-voltage cable *into* the hood — not the driver. Heat rises. Let it rise away from your lights.
Also: never share a driver between multiple strip runs in high-heat zones. Voltage drop + heat = cascading failure. Dedicate one driver per run. Yes, it’s more wiring. No, it’s not optional.
Bottom line? Outdoor lighting near heat sources isn’t about waterproofing. It’s about thermal management — from substrate to solder to silicone to screw spacing. Get one piece wrong, and the whole chain fails.
That patio light disaster taught me humility — and a very specific kind of respect for ceramics.
Now if you’ll excuse me, I’m going to check the temperature on my hood again. Just to be sure.