How do you light a painting so the art glows—not the dust on the frame or the grit in the plaster?
I’ve stood in too many living rooms where someone spent $3,800 on a mid-century oil study—then lit it with track heads aimed like floodlights at a crime scene. The canvas is washed out. The frame’s glare steals attention. And that beautiful hand-troweled wall texture? Now it looks like a topographic map under harsh raking light. Here’s what actually works—tested on real walls, real frames, real art (including a 36" × 48" linen-backed charcoal drawing that *must* read as soft, not scorched).Step 1: Choose the right tool—not just “a spotlight”
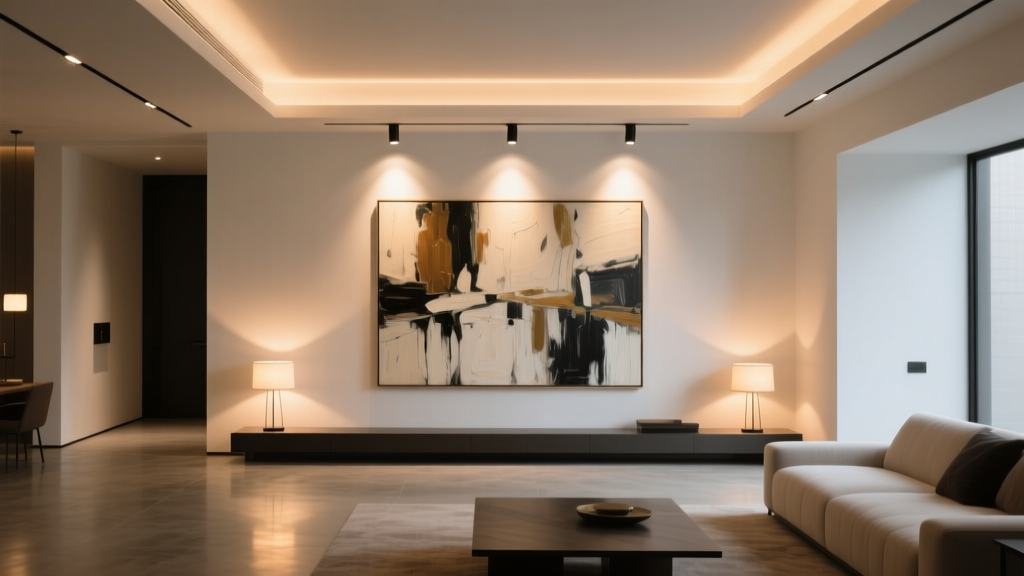
Skip generic 25° or 36° track heads. You need MR16s with **12° beam angles**, 98 CRI LEDs, and adjustable mounting (tilt + rotation). Why 12°? Because it delivers tight, controlled light that lands *on the artwork*, not beyond it—even at typical ceiling heights (8'–9' 6"). At 9' ceiling height, a 12° beam spreads ~23" wide at the wall surface. That’s ideal for most 24"–36" wide pieces. Wider canvases? Use two 12° spots, spaced evenly. And yes—CRI 98 matters. Not “90+”. Not “excellent color rendering.” At CRI 95, cobalt blue shifts slightly violet; burnt sienna leans orange. At 98? The pigment breathes. I swapped a CRI 90 LED for a 98 in a client’s Rothko study—and she literally stepped back. “It’s *wetter*,” she said. She meant the color depth. That’s the difference.Step 2: Aim from the center—not the top, not the frame, not “somewhere up there”
This is where most go wrong. Don’t eyeball it. Don’t aim at the top third. Don’t follow “30° rule” guidelines made for museums with 14' ceilings. Instead:- Measure the vertical center point of your artwork (not the frame’s outer edge—measure the actual painted surface).
- Mark that spot lightly with pencil on the wall.
- Use a laser level app (like *Diy Tools* or *Bosch MeasureOn*) on your phone. Tape it to the front of the fixture while it’s temporarily mounted—or hold it steady at the intended aiming point on the ceiling.
- Adjust the MR16 until its laser dot hits *exactly* that center mark.
Step 3: Mount height & distance: math, not guesswork
Your fixture should be mounted **24"–30" above the top edge of the artwork**, and positioned **36"–42" back from the wall** (measured horizontally from fixture face to wall surface). This creates a clean, perpendicular throw—minimizing lens flare, reducing wall texture emphasis, and keeping spill light off adjacent shelves or seating. For example: A 30" tall painting hung with its bottom edge at 48" AFF (above finished floor) means its top edge sits at 78". So your MR16’s mounting point should be at 102"–108" AFF. If your ceiling is 96", you’ll need a 6"–12" downrod—or recessed mounting if possible.Hot tip: If your wall has heavy texture (like Venetian plaster or deep stucco), pull the fixture back an extra 3" and drop the beam angle to 10° if available. The tighter throw skips over the peaks and lands cleanly on pigment—not relief.
Step 4: Test *before* you wire
Wireless isn’t just convenient—it’s essential. Borrow or rent battery-powered MR16s (many rental houses carry them), or use temporary clips + extension cords. Set them up *exactly* per your laser-level test. Then:- Turn off all ambient light.
- View the artwork from your usual seating position (e.g., 8'–10' away on sofa).
- Look for: (a) uniform brightness across surface, (b) zero glare on varnish or glass, (c) no visible “light pool” edge cutting into frame or wall.
This isn’t about perfection—it’s about intention. Every time I get it right, the art stops being decoration and starts holding the room’s gravity. That’s when lighting disappears… and the art finally speaks.