The Chandelier That Didn’t Make My Husband Scream “Is This a Funeral?”
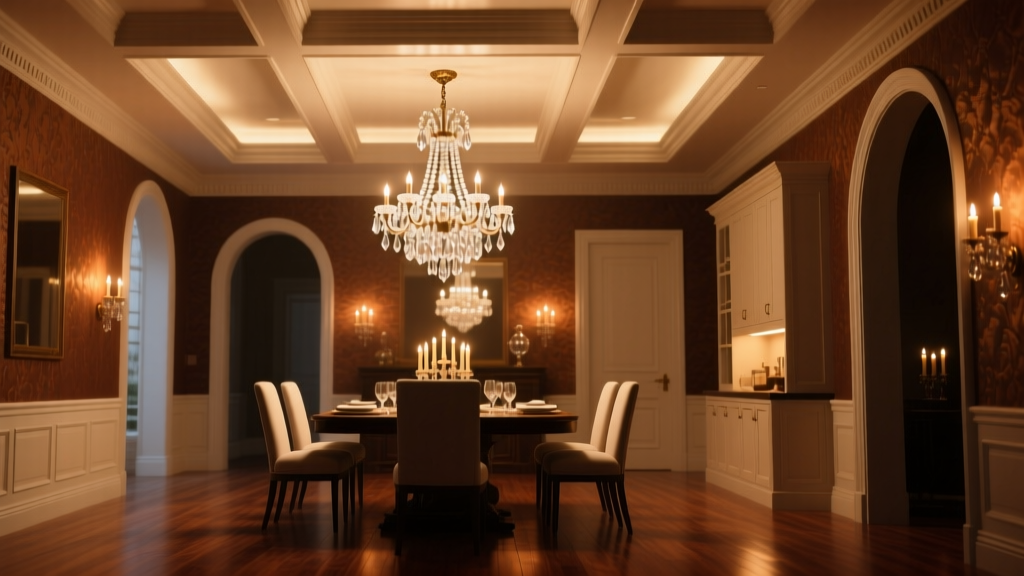
I stood in my client’s 14′ × 16′ dining room—white oak floors, navy Benjamin Moore Hale Navy walls, a 72″-long solid walnut table—and stared at the chandelier hanging like a confused owl: too low, too bright, too… beige. It was a $2,400 Visual Comfort E.F. Chapman fixture with a 95 CRI, 2700K fixed output, and zero personality below 70% dim. At dinner? It cast sharp shadows under eyes and made roasted carrots look radioactive.
That’s when I stopped trusting “just follow the rules” and started measuring *intent*.
First: The Height Rule Isn’t a Suggestion—It’s a Lifesaver
You’ve heard it: “Hang your chandelier 30–36 inches above the table.” But that assumes a standard 30″-high table—and a ceiling height of at least 8′. My client’s ceiling was 9′2″. Her table? 30″ tall, yes—but she insisted on upholstered host chairs with 24″ seat heights and 38″ backs. So clearance wasn’t about elbows—it was about not decapitating Aunt Carol mid-salad.
The real sweet spot? **12″ to 20″ below the bottom of the fixture to the tabletop surface**—*not* the chair backs, not the floor, not the ceiling fan you’re pretending isn’t there.
I measured:
- Table height: 30″
- Desired fixture bottom height: 44″–50″ above floor
- Ceiling height: 110″
- So suspension needed: 60″–66″ of chain + canopy
That put the fixture’s lowest point at 47″ above floor → 17″ above tabletop. Perfect. You could lift a wine glass without grazing brass finials. More importantly: you could *see* the person across from you—not just their forehead highlight.
Then Came the Candlelight Problem (a.k.a. Why 2700K Is a Lie)
Warm-dim chandeliers promise “candlelight ambiance.” Great. Except most labeled “2700K warm-dim” only dip to 2200K—or worse, they drop *lumens* faster than color temperature, leaving you with a dim, muddy, orange-gray blob at 30% power.
I tested three E.F. Chapman fixtures side-by-side over six dinners (yes, I took notes):
- Model A (95 CRI, 2700K–1800K): Gorgeous at full, but at 40% dim, skin looked ashen. Not romantic—*post-apocalyptic*.
- Model B (90 CRI, 2700K–1800K): Same curve, same lumen drop—but the slight softening of red rendering actually *helped* warmth feel more cohesive. Less clinical. More candle-on-a-stone-hearth.
- Model C (95 CRI, 2700K–2400K only): Technically “better” fidelity, but emotionally flat. Like watching a sunset through museum glass.
Here’s what I think: **CRI 90 doesn’t mean “worse”—it means “more forgiving.”** At 1800K, spectral gaps in the deep reds and ambers are inevitable. A 95 CRI tries to fill them precisely—and fails, creating subtle metamerism (i.e., your cheekbones look fine in daylight, then slightly bruised under dimmed light). A 90 CRI lets those gaps breathe. It prioritizes *harmony* over hyperaccuracy.
This works because human vision adapts to lower light by relying more on rod response and less on cone discrimination. We don’t *need* perfect R9 (saturated red) at 500 lumens. We need warmth that feels earned—not engineered.
So yes—I now specify 90 CRI warm-dim chandeliers for formal dining. Not as a compromise. As a design decision.
Brass, Drivers, and Why Your Electrician Will Thank You
Brass-finish chandeliers are having a moment. But finish isn’t the hard part—it’s the dimming infrastructure.
Most high-end warm-dim chandeliers need either:
- An integrated constant-voltage LED driver (built into the canopy or base), or
- A remote magnetic low-voltage transformer (usually 12V) paired with ELV dimmers.
Here’s how they stack up in real-world use:
Feature
Integrated Driver (e.g., Visual Comfort Pro Series)
Magnetic Transformer (e.g., classic Chapman vintage-style)
Dimming smoothness
Excellent—even down to 1%. No flicker, no pop-on.
Good to very good—but can buzz faintly below 20% if transformer isn’t oversized.
Warm-dim curve fidelity
Highly consistent; drivers are tuned per fixture SKU.
Varies. Older transformers + modern LEDs = unpredictable color shift.
Installation complexity
Plug-and-play. One circuit, one dimmer (MLV/ELV compatible).
Requires separate transformer box (often hidden in ceiling or closet), dedicated low-voltage wiring.
Serviceability
Driver failure = full fixture service call (or send-in).
Transformer swaps in 10 minutes. Bulbs/drivers modular.
Aesthetic impact
No visible transformer. Cleaner lines. Better for tight ceilings.
Brass transformer housing can be styled—some designers mount it exposed as “industrial jewelry.”
I go integrated driver 9 times out of 10—not for laziness, but because consistency matters more than nostalgia when you’re billing by the hour and your client is Googling “why does my chandelier hum?”
One Last Thing: The 72″ Table Exception
If your table is longer than 72″, skip the single chandelier. Yes, even if it’s “designed for large rooms.” A 36″-wide fixture over a 96″ table creates two pools of light—one over each end, dead space in the middle. Guests at the center reach for bread baskets like they’re crossing the DMZ.
Solution? Two smaller chandeliers (each 18″–22″ wide), spaced 36″ apart, centered over the long axis. Hang them at the *same height* as you would a single—so the light planes align. Bonus: dual fixtures let you layer dimming (host lights brighter, guest zone softer) and create rhythm without symmetry.
I tried it in a recent 10′-ceiling, 18′-long dining nook. Went from “where do I put my napkin?” to “oh, *this* is why people host Thanksgiving.”
Lighting isn’t physics. It’s hospitality—with volts.
R
Rachel Torres
Contributing writer at BeamDigest — Lights & Lighting Insights.