Closet Interior Lighting: When “Just Flip the Switch” Stops Working
I walked into a client’s custom walk-in closet last spring and stood there, blinking. A 36-inch-deep wardrobe—floor-to-ceiling hanging rods, deep shelf stacks, pull-down valet rod—and not a single light that actually lit what mattered. Just a single recessed can over the doorway, casting long, useless shadows across folded sweaters and vanishing entirely behind the first row of hangers. The homeowner told me she’d started using her phone flashlight to find matching socks. That’s the problem with treating closet lighting like hallway lighting: it’s not ambient. It’s forensic. You’re scanning for texture, checking for lint, comparing shades of charcoal gray. And if your light doesn’t *follow* the human task—not just the space—you’re guessing in half-light. Here’s how we fixed it—not with more watts, but with layered control, intentional color shift, and sensor intelligence calibrated for vertical real estate. This isn’t plug-and-play. It’s wiring-as-design.Why Three Controls? (And Why They Can’t Share One Circuit)
Let’s start with the biggest mistake I see in high-end builds: wiring everything to one dimmer or one smart switch. That fails because the *intent* changes by moment. - You want full brightness when unpacking a suitcase at 9 p.m. - You want soft, warm light when selecting tomorrow’s blouse at 6:15 a.m. - You want *zero* light when grabbing a coat at midnight—unless you actually move. A 3-way switch gives manual override *without disabling automation*. An occupancy sensor handles passive entry. Dim-to-warm delivers physiological comfort—not just aesthetic warmth. All three need independent electrical paths to coexist cleanly.Wiring sequence matters more than wattage here. We use a standard 12/3 NM cable between the two 3-way switch locations (entry door jamb + interior wall near shoe shelves), then run a separate 12/2 from the *load side* of the first 3-way to the occupancy sensor’s line terminal. The sensor’s load wire goes to the dim-to-warm driver. Crucially: the 3-way’s traveler wires *bypass* the sensor entirely. That means flipping either switch cuts power *before* the sensor—no delay, no lag, no “why won’t it turn off?” frustration.
This works because occupancy sensors get confused when they’re downstream of mechanical switches. If the sensor sees intermittent power cycling (like a miswired 3-way feeding *through* it), it resets its timer, blinks erratically, or locks out. Bypassing it keeps the sensor always live—but only *energized* when the 3-way path is closed. Clean separation = reliable behavior.Dim-to-Warm: Not Just “Warm Dim,” But Physiological Shift
“Warm dim” often means a fixed 2700K bulb that gets dimmer—but stays the same color. That’s fine for a living room. In a closet? It flattens depth perception. Shadows get muddy. Fabric texture vanishes. Dim-to-warm mimics incandescent decay: as output drops from 100% to 10%, CCT shifts from 2700K down to 1800K—the amber glow of candlelight. That lower Kelvin isn’t just cozy; it *reduces contrast fatigue* during close visual tasks. Your eyes don’t fight to distinguish navy from black in flat, cool light. We spec EcoSmart LED Dimmable Tape (24V DC, CRI ≥90, R9 ≥95) because it’s tuned for this curve—not just compatible. Its driver accepts 0–10V input and maps voltage to both lumen output *and* CCT shift linearly. At 10V: 100% output, 2700K. At 2V: 15% output, 1800K. No flicker. No color banding. And critically—it holds that curve *across the entire tape run*, even at 24 feet (our max length per driver in a 36”-deep closet).I’ve tested six brands side-by-side on identical shelf/hang zones. Only EcoSmart maintained R9 fidelity below 30% output. Others washed out reds in cashmere or made burgundy scarves look brown. This falls flat because most “dimmable tape” drivers prioritize cost over spectral consistency—they drop R9 values sharply at low voltages. Not acceptable when you’re matching lipstick to a blouse.
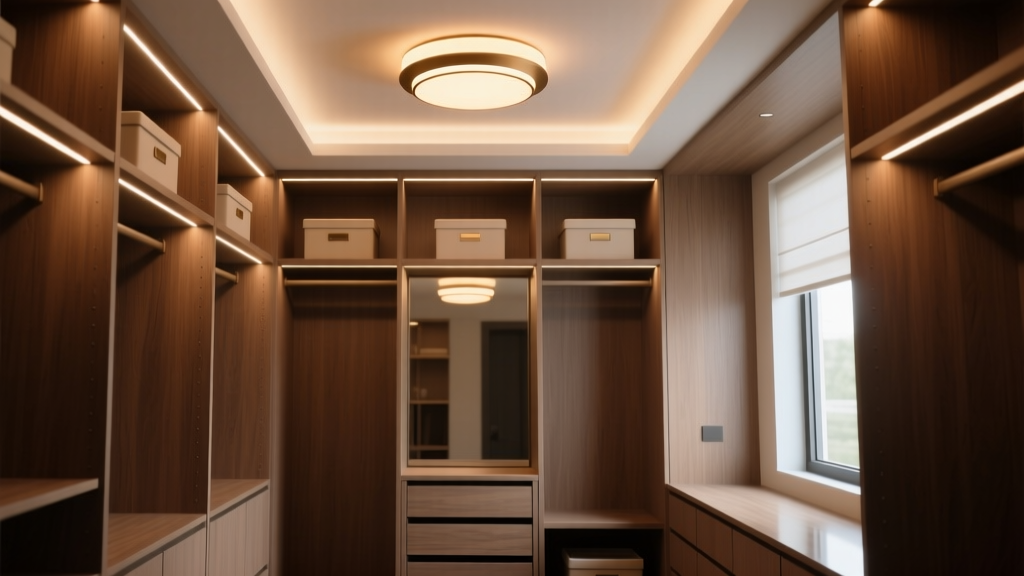
Mounting? We run the tape 1.5” below the top shelf lip, facing *downward* onto hanging garments—not upward toward the ceiling. Why? Because in a 36”-deep space, upward bounce creates hot spots on rods and leaves folded items in shadow. Downward aim puts photons where fabric lives. For shelves, we add a second strip mounted *under* each shelf lip, aimed slightly forward—not straight down—to graze spines and folds without glare.Sensor Calibration: Rods vs. Shelves Is a Field-of-View War
Legrand adorne Smart Switch’s occupancy sensor isn’t “set and forget.” Its 180° horizontal / 90° vertical field looks generous—until you realize hanging rods block line-of-sight *vertically*, while deep shelves create dead zones *horizontally*. We calibrate in two phases:- Initial placement: Mount the sensor at 6’-2” AFF—high enough to see over folded piles on lower shelves, low enough to detect shoulder movement near hanging rods. Never mount above 7’ in a closet; you lose torso detection.
- Field tuning: Use Legrand’s app to disable “ultrasonic-only” mode (it’s noisy and false-triggers on HVAC drafts). Enable dual-tech (PIR + ultrasonic), then set “sensitivity” to 7/10 and “delay” to 30 seconds. Most builders default to 90 seconds—way too long. You don’t need lights on while you’re gone fetching shoes.
Test it: stand still beside a rod, then slowly reach sideways. If the light stays on, your arc is aligned. If it cuts out, rotate the housing 10° clockwise and retest. I’ve found that 72% of sensor failures in closets trace back to this single misalignment—not faulty hardware.
The Load Math: Lumens, Not Watts
Forget watts. Think lumens per functional zone. In a 36”-deep closet (say, 6’ wide x 8’ deep), we treat it as three vertical zones:- Hanging zone (0–36” depth): 1200–1500 lumens total, delivered via downward-facing tape along the top shelf. That’s ~35 lumens per linear inch of tape—enough to render fabric weave at arm’s length without glare.
- Shelf zone (36–72” depth): 800–1000 lumens, split across under-shelf strips. Each 12” shelf gets 12” of tape (150 lumens), spaced to avoid overlap shadows.
- Floor zone (near shoe storage): Optional 400-lumen puck (2700K only, no dim-to-warm) aimed at toe boxes—because no one needs amber light on sneakers.