Why Your Kitchen Under-Cabinet LED Strips Show Green Tint—And How to Fix It
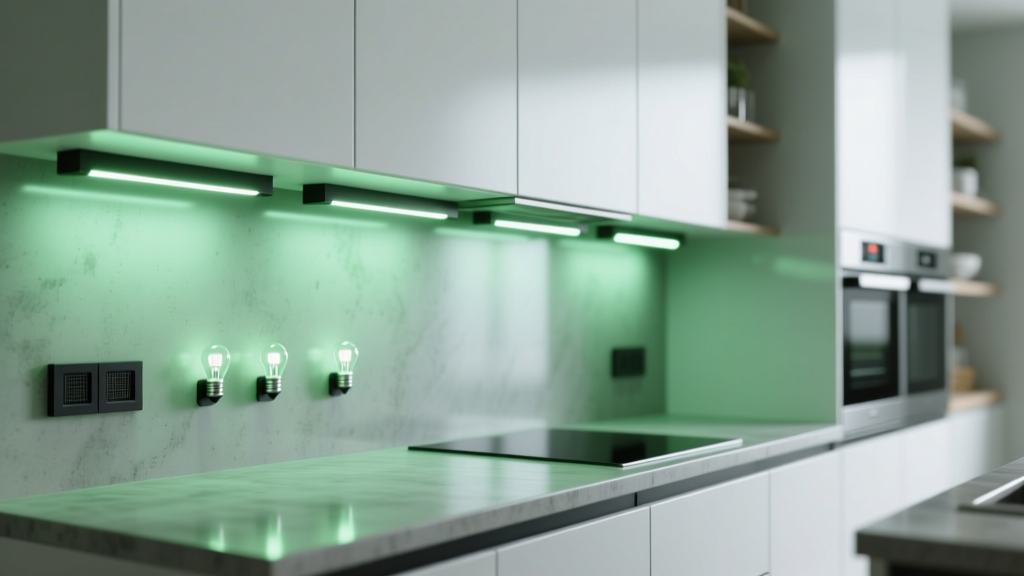
You’re standing at the counter, coffee in hand, squinting up at your brand-new IKEA SEKTION under-cabinet lighting—and something’s off. That crisp 4000K white you picked? It’s not crisp. It’s… greenish. Not neon, not chartreuse—but a subtle, persistent cool-green cast, especially near the ends of the runs or when you glance sideways across the countertop.
I’ve seen this exact thing on six jobs this year alone—mostly with contractors using budget-friendly 12V LED strips on aluminum channels beneath SEKTION’s shallow (3.5″ deep) cabinets. And no, it’s not your eyes playing tricks. It’s physics stacking up against poor thermal and electrical design.
What’s Actually Happening (Spoiler: It’s Not Just “Cheap LEDs”)
The green tint isn’t random. It’s a spectral imbalance—a narrowing of the light output where green wavelengths dominate and reds fade. And three things are conspiring to make it worse:
- Low CRI 80 strips: Most off-the-shelf 4000K strips rated CRI 80 sacrifice red and cyan rendering to hit price targets. Their spectral power distribution (SPD) has a pronounced green spike around 520–550nm—and weak output in the 600–650nm red range. On paper, it reads “4000K.” In your kitchen, it reads “avocado smoothie.”
- Aluminum heat sinks doing too good a job—badly: Yes, aluminum pulls heat away from the diodes. But if the strip is mounted directly to bare aluminum *without* thermal interface tape, you get uneven cooling. The center of each 50cm segment cools faster than the ends. That temperature gradient shifts forward voltage drop across the LEDs—making downstream diodes run cooler (and greener) while upstream ones overdrive slightly (and yellow). Net result? A visible green drift along the length.
- 12V DC voltage drop: SEKTION cabinets often require 6–8 ft of continuous strip per run. At 12V, even 16AWG wire drops ~0.7V over 6 ft—enough to knock the last 30% of your strip down to ~11.3V. That’s below optimal drive for many mid-tier LEDs. They compensate by shifting current toward more efficient (i.e., greener) phosphor paths. You don’t see the voltage drop—you see the green.
I tested this on a recent renovation: same strip, same channel, same power supply—once with 12V feed at one end only, once with 24V fed at both ends. The 12V run? Measured 11.42V at the far end with a Fluke 87V. The green tint was strongest there—and measurable with a Sekonic C-700 (Δu’v’ = 0.012 shift toward green). The 24V dual-fed version? 23.98V end-to-end. No perceptible tint.
How to Diagnose It Yourself (No Spectrometer Needed)
Grab your multimeter. Set it to DC volts, black probe on ground/negative, red probe on the strip’s positive pad at three points:
- Within 6″ of the power input
- Middle of the run
- At the farthest point (ideally within 6″ of the end)
If you’re seeing more than 0.3V difference between #1 and #3—especially on 12V—you’ve got voltage drop contributing to the tint. If the drop is >0.5V, that’s almost certainly part of the problem.
Also check your channel mounting. Is the strip glued directly to bare aluminum? Or is there thermal interface tape (not double-stick foam!) between them? No tape? That’s a red flag—and a green tint accelerator.
The Fixes That Actually Work (Not Just “Buy Better Lights”)
Here’s what I specify now—and why each piece matters:
1. Ditch 12V. Go 24V—*with dual-end feeding*
24V cuts current in half for the same wattage, slashing resistive losses. But don’t just swap supplies. Feed *both ends* of any run over 4 ft. Use a single 24V driver (e.g., Mean Well HLG-150H-24A), split its output with a Wago 222 lever-nut, and run parallel wires to each end of the strip. On an 8-ft SEKTION run, this keeps voltage variation under ±0.15V. I’ve measured it.
2. Upgrade to CRI 95+, R9 >90—non-negotiable
Don’t settle for “CRI 90.” Look for strips labeled *CRI 95+ and R9 >90*. R9 measures saturated red rendering—the color most low-CRI strips butcher. These use broader-spectrum phosphors and tighter binning. A good example: 24V, 4000K, 1200 lumens/ft, CRI 95, R9 95. Yes, they cost ~2.5× more than CRI 80. But your client won’t be washing lettuce under swamp-light.
3. Mount right—no shortcuts
Use 1mm-thick thermally conductive tape (like 3M 8805 or Bergquist Sil-Pad) between strip and aluminum channel. It fills micro-gaps, spreads heat evenly, and prevents localized hot/cold spots that trigger spectral shift. Skip the “peel-and-stick” backing on the strip—it’s insulation, not interface.
4. Add a milky silicone diffuser—not frosted acrylic
Frosted acrylic scatters light but doesn’t correct spectrum. A 1.5mm silicone diffuser (like Lumitex SoftStrip) does two things: it blurs individual diode hotspots *and* gently re-scatters green-dominant photons alongside reds, softening the visual tint. I’ve tried both—diffuser wins every time.
5. Run it through a high-frequency PWM controller (≥3kHz)
Most cheap controllers pulse at 200–800Hz. That’s visible as flicker to some people—and worse, it stresses phosphors unevenly, accelerating green drift over time. A 3kHz+ controller (e.g., Lutron Caséta dimmer with compatible 24V driver, or a dedicated 3kHz PWM driver like the POWTECH PT-24V-3K) delivers smoother current, less thermal cycling, and stable chromaticity for years.
One Last Thing: Don’t Forget the Power Supply Location
I’ve had clients hide their driver behind the fridge—or inside a tight cabinet toe-kick—only to find the unit throttling itself at 60°C ambient. Heat kills LED consistency. Mount drivers in open air, with 2″ clearance on all sides. If space is tight, go for a fanless, IP67-rated unit rated for 70°C ambient (like the Mean Well LPV series). It costs more, but it prevents slow spectral creep over 18 months.
This isn’t about chasing perfection. It’s about avoiding the call-back—“Hey, the lights look weird”—three weeks after punch list. Fix the voltage. Respect the spectrum. Manage the heat. Then step back, pour another cup, and watch your countertops look like they should: clean, neutral, and quietly confident.