“The driver isn’t the bulb—it’s the heart. And when it fails, the whole fixture goes quiet.”
—Javier Ruiz, lighting technician with 17 years on integrated LED retrofits
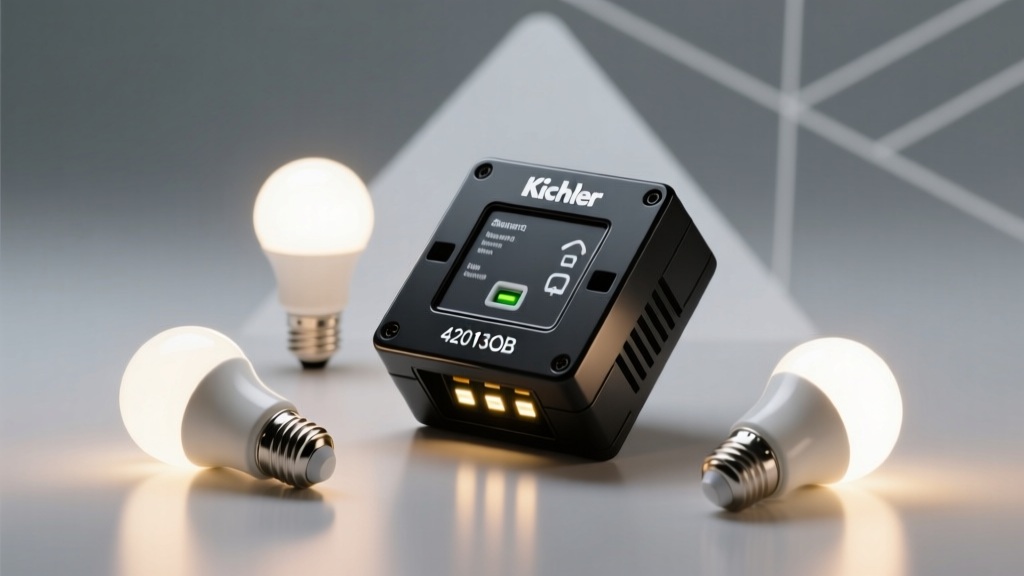
I’ve stood under more than a few Kichler 42013OB fixtures that just… stopped. No warning. No dimming fade-out. Just dead silence and a faint, acrid tang lingering near the ceiling.
That smell? It’s not insulation burning. It’s the polyurethane potting compound inside the driver overheating—often the first real clue this isn’t a bulb issue (there’s no bulb to replace) but a driver failure.
Step 1: Confirm it’s the driver—not wiring or control
Before you crack open the housing, rule out the obvious:
- Check the circuit breaker—and test the switch leg with a non-contact voltage tester. I’ve seen three jobs stalled by a tripped GFCI downstream.
- If the fixture flickers only at low dimmer settings, check compatibility: the 42013OB uses ELV (electronic low-voltage) dimming. A standard TRIAC dimmer will cause instability—not driver death, but enough stress to kill one in 18 months.
- No light at all, no hum, no flicker? That’s classic driver failure. Not power supply noise. Not loose neutral. Just silence.
Step 2: Access without damage
The 42013OB’s driver hides behind a recessed aluminum plate beneath the diffuser. Don’t pry. Don’t force.
Here’s how it actually comes apart:
- Turn off power at the panel—and verify with a multimeter across hot/neutral at the junction box.
- Remove the four Phillips screws securing the trim ring—not the outer bezel, the inner ring flush with the ceiling.
- Gently lift the ring upward; it pivots on two spring-loaded pins. You’ll hear a soft *click* as it releases.
- The driver compartment is now exposed: a 3.5" × 2.25" rectangular module, potted in gray silicone, wired directly to the LED board via 18 AWG stranded leads.
Step 3: Voltage testing—what you’re really looking for
I use a Fluke 117—but any true-RMS meter works.
Input side: Hot to neutral should read 118–122 VAC. If it’s zero, stop. You’ve got a wiring fault upstream—not driver failure.
Output side: This is where it gets telling. The OEM driver outputs 36 VDC at up to 700 mA. Set your meter to DC volts, black probe on output ground, red on +V. You want something between 34–37 VDC *under load*. If it reads 0 V or 0.2 V, the driver’s gone. If it reads 36.2 V but the LEDs stay dark? Check continuity on the output leads—they break *inside* the potting more often than you’d think.
Step 4: Replacement—OEM vs. universal
Kichler part #42013DRVR is $42.95 direct. It’s a 25W, Class 2, ELV-dimmable, constant-current driver with IP20 rating and thermal shutdown.
Universal alternatives *can* work—but only if they match three things precisely:
- Wattage: Must be ≤25W (not “up to” 25W—drivers derate fast in enclosed housings).
- Dimming protocol: ELV only. No 0–10V, no PWM-only drivers. If your wall dimmer is Lutron Diva DVCL-153P, mismatched drivers will buzz or drop out below 30%.
- Physical fit: The 42013OB’s cavity is shallow—max 1.1" depth. Many “universal” drivers run 1.4" tall and won’t seat.
I tried a Mean Well HLG-25H-36B once. Perfect specs on paper. But its mounting holes didn’t align, and the heat sink fins scraped the LED board during installation. Two weeks later, the board failed. Not the driver’s fault—but mine, for rushing fitment.
This works because the OEM driver shares the same thermal expansion coefficient as the housing. It breathes with the fixture. Universal drivers often don’t.
One last thing: that burnt odor
If you smell it, don’t just swap the driver. Peel back the silicone around the output terminals. Look for carbon tracking—blackened streaks along the PCB edge. If you see it, clean the board with 91% isopropyl alcohol and a soft brush before installing the new unit. Otherwise, the failure repeats in 3–4 months.
LED drivers aren’t mysterious. They’re just precise, unforgiving, and buried where you can’t see them. Treat them like what they are: small, critical power supplies—not disposable parts.