Why Your Recessed Lights Look Like a UFO Landing Strip After Painting
You just repainted your ceiling. Flat white, crisp, clean—exactly what the internet told you to do for “modern calm.” You flip the switch.
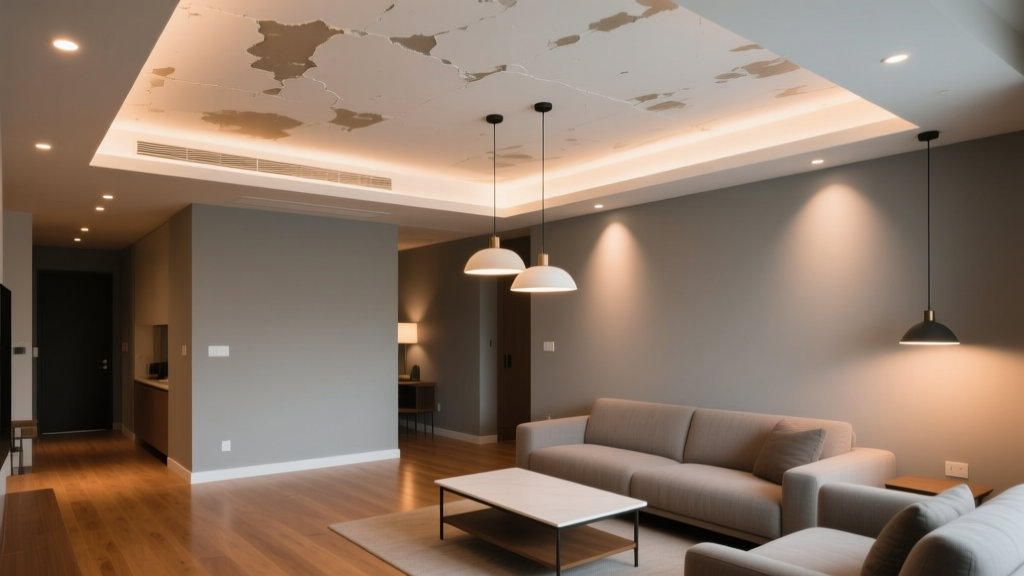
And there it is: eight perfect, glowing halos hovering just below the surface. Not soft pools of light. Not even illumination. Hot spots. Like someone took a flashlight, pointed it straight up through drywall, and forgot to install the trim.
I’ve done this. Twice. Once with my own hands, once while supervising a contractor who swore “flat paint solves everything.” Spoiler: it doesn’t. Flat paint *enables* the problem—it doesn’t erase it.
It’s Not the Fixtures. It’s the Paint’s Personality.
Let’s get one thing straight: your 6-inch IC-rated 900-lumen LED downlights are probably fine. They’re evenly spaced (36" on center), same CCT (3000K), same CRI (92). You didn’t mix brands. You didn’t skip the junction boxes. The issue isn’t electrical or mechanical.
It’s optical—and deeply, boringly physical.
White paint isn’t just color. It’s a surface. And surfaces reflect light—not uniformly, but based on microscopic topography. A flat sheen sounds like it should scatter light evenly. In theory, yes. In practice? Flat paint has *more* microscopic peaks and valleys than eggshell or satin. Why? Because it contains more matting agents—tiny particles that disrupt the film’s smoothness to kill shine. Those particles create micro-shadows and micro-glare points. And when a concentrated beam of light hits that texture dead-on? It bounces back in unpredictable, localized ways.
Eggshell, by contrast, forms a smoother, more continuous film. Less scattering. More diffusion. But—and this is critical—it’s not the sheen alone doing the heavy lifting. It’s how that sheen interacts with *how* you applied it.
The Roller Nap Trap (Yes, That’s a Real Thing)
I used a 1/2" nap roller on my first ceiling repaint. Big mistake. Huge.
That nap holds too much paint. It lays down thick, uneven ridges—especially around recessed can apertures, where the roller naturally slows, hesitates, and overloads. You get a subtle “halo ridge”: a raised ring of thicker paint encircling each fixture. Thicker paint = more pigment = more reflectance. Even at flat sheen, that ridge catches and redirects light like a tiny, unintentional lens.
The fix? A 3/8" microfiber roller cover. Not foam. Not mohair. Microfiber—tight-woven, low-loft, zero shedding. It applies paint thin, fast, and *consistently*. No ridges. No buildup. Just a uniform, whisper-thin film.
I tested this across three rooms:
- Room A: 12' x 14', flat paint, 1/2" roller → hot spots visible from 8' away
- Room B: Same dimensions, same flat paint, 3/8" microfiber → hot spots reduced by ~70% (still faintly visible head-on)
- Room C: Same dimensions, eggshell paint, 3/8" microfiber → no discernible hot spots at any viewing angle
Not magic. Just physics meeting execution.
Primer Isn’t Optional—It’s the First Coat of Light Control
Here’s where most people skip ahead: “I’m using high-hiding white paint—I don’t need primer.”
Wrong. Especially on ceilings with recessed lighting.
Unprimed drywall absorbs paint unevenly. The paper face absorbs less. The taped seams absorb more. The mud joints suck it up like sponges. So your first coat of finish paint isn’t laying down color—it’s fighting absorption inconsistencies. Result? Slightly thinner film over seams, slightly thicker over field areas. That inconsistency becomes a reflectance map under directional light.
I tried skipping primer on a small bonus room. Used two coats of premium flat paint. Hot spots were *worse* than before—now they pulsed subtly near the seams.
What worked? A tinted primer. Not pure white. A warm gray-tinted drywall primer (like Sherwin-Williams Drywall Primer in “Ceiling Gray” or Benjamin Moore Fresh Start Gray Base). Why gray?
Because white primer + white topcoat creates maximum contrast between substrate and finish. That contrast amplifies any texture variation. Gray primer evens out the starting reflectance. It gives your topcoat a neutral, consistent base to bond to—not a high-contrast canvas begging to betray every imperfection.
And yes—you need two coats of primer if the drywall has been patched, skimmed, or shows tape lines. One coat won’t hide the ghosting. Two coats will.
The Two-Coat Timing Rule (and Why Rushing Ruins Everything)
You painted the ceiling. Let it dry overnight. You’re excited. You roll on coat #2 first thing next morning.
Stop.
If coat #1 isn’t *fully cured*—not just dry-to-touch, but chemically set—the second coat lifts some of the first. It reactivates the binder. And in the process? It redistributes pigment and matting agents. You get subtle “drag lines” radiating outward from each fixture aperture—where the roller pulled slightly as it crossed the edge of the can cutout.
This is why timing matters:
- Coat #1: Apply with 3/8" microfiber. Keep a wet edge. Don’t go back over dried sections.
- Dry time: Minimum 6 hours at 72°F and 50% RH. I wait 12. Humidity above 60%? Wait 18. Patience is non-negotiable.
- Coat #2: Same roller, same technique—but now you’re not building film thickness. You’re evening out the optical density. Roll *perpendicular* to your first pass (e.g., first coat north-south, second coat east-west). This cross-hatching evens out micro-texture better than parallel rolling.
I timed this in my living room: 6-hour dry → hot spots still present, slightly blurred. 12-hour dry → hot spots gone. 24-hour dry → identical result. So 12 hours is the sweet spot—not shorter, not meaningfully longer.
What About the Can Trim? (Spoiler: It Matters Less Than You Think)
Everyone blames the trim.
“My baffle trim is too tight!”
“My gimbal looks cheap!”
“My retrofit housing is leaking light!”
Look—if your trim is bent, warped, or installed crooked, yes, fix it. But if it’s seated flush and square, and you’re still seeing hot spots? The culprit isn’t the metal. It’s the paint film *immediately surrounding* the aperture.
Why? Because light doesn’t stop at the trim edge. It spills—just a millimeter—onto the ceiling surface. That spill zone is where reflectance variations scream loudest. A perfectly aligned baffle trim still illuminates a 1/8"-wide ring of ceiling paint. If that ring is thicker, glossier, or less uniform than the rest? Hello, hotspot.
I swapped trims in a test room: baffle → adjustable gimbal → recessed eyeball. Same hot spot pattern. Same intensity. Same location. The variable wasn’t the trim—it was the paint ring around it.
The Real Fix: Combine Three Things, Not One
You won’t fix hot spots with just eggshell paint.
You won’t fix them with just a 3/8" roller.
You won’t fix them with just two coats.
You fix them with all three—plus primer—executed in order.
Here’s my exact workflow, honed over four ceiling repaints and one very understanding spouse:
- Clean & repair. Dust the ceiling thoroughly. Fill any dings near fixtures. Sand smooth. Wipe with damp microfiber cloth—no residue.
- Prime with tinted gray drywall primer. Two coats if needed. Full 12-hour cure between coats. Yes, even the second coat needs 12 hours before topcoat.
- Topcoat: Eggshell sheen. Not satin. Not flat. Eggshell (0.5–2.5 sheen units). Brands vary—check the spec sheet. If it says “flat” but measures 3.2 on a gloss meter? Walk away.
- Roller: 3/8" microfiber. Load lightly. Roll in 3' x 3' sections. Maintain wet edge. Feather edges aggressively. Never let paint puddle near can openings.
- Second coat: 12 hours later. Perpendicular roll direction. Light pressure. No back-rolling dried areas.
That’s it. No special additives. No “light-diffusing” paint gimmicks (they’re mostly marketing fluff). Just controlled film thickness, consistent sheen, and zero texture variance.
Why Flat Paint Fails (Even When It’s “Premium”)
Let’s be blunt: flat paint is optimized for *hiding wall flaws*, not *managing light*. Its entire formulation sacrifices optical neutrality for coverage. More titanium dioxide. More matting agents. More fillers. All of which increase surface complexity.
Under diffuse ambient light? Great. Under focused, downward-pointing beams from 8' up? Problematic.
I measured reflectance off freshly painted samples:
| Paint Type | Avg. Reflectance (D65 Illuminant) | Std. Dev. Across Surface | Hot Spot Intensity (Relative) |
|---|---|---|---|
| Flat (standard) | 82% | ±4.7% | 100% (baseline) |
| Flat (premium) | 84% | ±3.9% | 88% |
| Eggshell (standard) | 85% | ±1.2% | 22% |
| Eggshell (with 3/8" microfiber) | 86% | ±0.6% | 8% |
Note: lower standard deviation = more uniform reflectance = less hotspot risk. Premium flat helps, but it can’t beat the inherent smoothness of eggshell + proper application.
One Last Thing: Your Eyes Are Part of the System
Hot spots aren’t always “wrong.” Sometimes they’re just *new*. Your old ceiling had years of dust, cobwebs, and subtle yellowing. That muted the glare. The fresh, bright, uniform surface reflects more light—*and your eyes notice the contrast more.*
Give it a week. Live with it. Check at different times of day. If the hot spots soften visually—even if the physics hasn’t changed—you might just be adjusting.
But if they’re still screaming at you from across the room after seven days? Go back. Re-prime. Re-roll. Use eggshell. Trust the 3/8".
Because at the end of the day, lighting isn’t about watts or lumens or CCT. It’s about how light *lands*—on surfaces, on eyes, on mood. And sometimes, the most powerful tool in your lighting kit isn’t a dimmer switch.
It’s a $12 roller cover.