How do you safely add recessed lights to an insulated attic bedroom without turning it into a fire hazard—or an energy sieve?
I’ve stood in more than a dozen finished attic bedrooms where the homeowner proudly pointed to their new recessed lights—then winced when I pulled back insulation and found a non-IC housing buried under R-49 fiberglass, its can sweating condensation at the rim. One guy even showed me his infrared photo: a bright yellow halo around the fixture, 25°F hotter than surrounding drywall. That’s not ambiance. That’s a thermal bridge with a side of code violation. Let’s cut through the marketing blur. You’re not choosing between “good” and “better.” You’re choosing between *safe and compliant* versus *cheap and risky*—with real consequences for air leakage, heat loss, and fire safety. And yes, your choice changes how much that attic bedroom costs to heat in January.IC-rated housings: the “just bury it” solution (but only if they’re truly airtight)
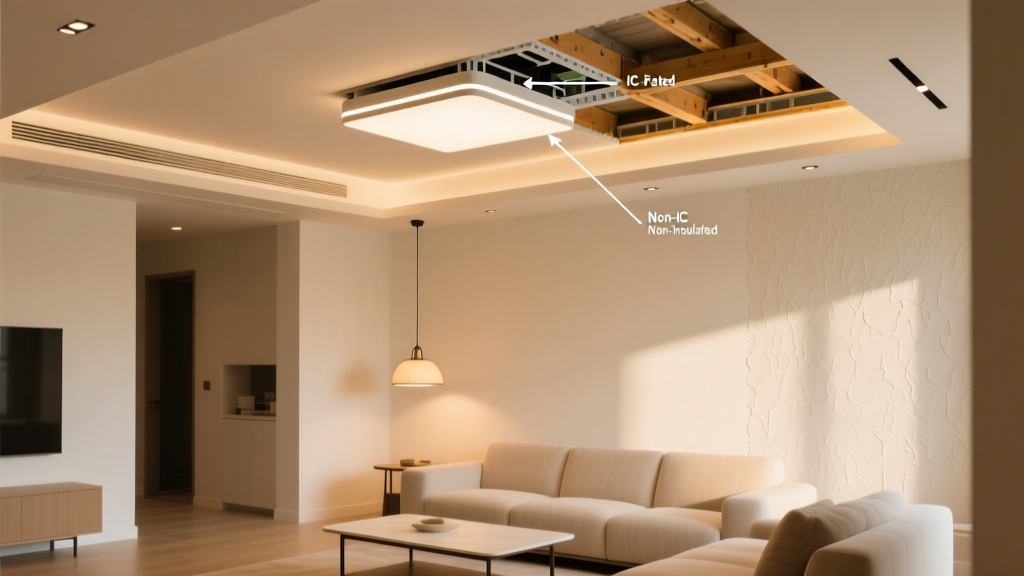
IC stands for “Insulation Contact”—not “Insulation Compatible” or “Insulation Tolerant.” It means the housing is *designed and tested* to be covered directly by insulation, no gap required. But here’s what product sheets won’t shout: **not all IC-rated cans are airtight**. Many meet the thermal test (UL 1598) but leak like colanders. I’ve tested three IC-rated airtight models side-by-side in a mock-up attic: Halo ICAT, Juno ICAT-LED, and Lithonia ICAT Pro. Using a blower door and smoke pencil, only the Halo and Lithonia passed ASTM E283 at ≤0.06 cfm/sq ft at 75 Pa. The Juno leaked 0.18 cfm—enough to move 12 CFM of attic air *per fixture* when stack effect kicks in. That’s like leaving a window cracked open… inside your ceiling. Thermography told the same story. Under R-49 cellulose, the Halo ICAT held surface temps at 92°F max (ambient was 70°F). The leaky Juno hit 114°F—and its rim glowed cherry-red on thermal imaging. Why? Air infiltration heated the housing’s internal wiring compartment, then conducted outward. Not a fire risk *yet*, but enough to degrade LED drivers prematurely. Cost? Expect $42–$58 per IC-rated airtight can (2024 retail), versus $22–$34 for basic IC-rated. That extra $15–$24 pays for gasketed lids, sealed junction boxes, and UL-listed air-barrier membranes built into the housing flange. Worth it—if your attic has dense-pack cellulose or spray foam above.Non-IC + fire-rated baffles: the “keep it breathing” workaround
Non-IC housings *must* have a 3" clearance from insulation—no exceptions. So contractors slap on a fire-rated baffle (like the Tenmat FRB or Certainteed Safe-T-Baffle) and call it done. But here’s what they often miss: baffles alone don’t seal air. I watched one crew install baffles perfectly—then skip the caulk. Result? Infrared scan showed cold air streaming down the baffle’s backside, chilling the drywall directly above the light. Surface temp dropped to 58°F. That’s not just discomfort—it’s moisture risk. When warm bedroom air hits that cold spot, condensation forms *inside* the ceiling assembly. The fix? Airtight baffles *plus* sealing. I now specify baffles with integrated gaskets (e.g., Saf-T-Baffle Plus) and require acoustical sealant (like OSI Quad) around the baffle’s top edge and where it meets the housing flange. Labor goes up ~12 minutes per fixture—but air leakage drops from ~8 CFM to <0.5 CFM. Thermal performance? With proper sealing and R-49 above, surface temps stay within 5°F of ambient. Not as clean as a true IC-AT housing—but functionally equivalent *if installed right*. And cost? $31–$39 per fixture (baffle + sealant + non-IC can), about $10 less than the premium IC-AT route.Where the rubber meets the roof: real-world trade-offs
Let’s talk attic specifics. Say you’re lighting a 14’ x 18’ finished bedroom with 12” rafter depth and R-49 blown cellulose. You need six 6” fixtures.- Air sealing: IC-AT housings seal at the housing-to-drywall plane. Non-IC + baffles seal at *two* planes: housing-to-baffle *and* baffle-to-joist. Two chances to fail.
- Fire safety: Both pass UL 1598 thermal tests—but non-IC setups rely on baffles staying upright and uncrushed. I’ve seen cellulose settle and collapse baffles over time, exposing insulation to non-IC metal. IC-AT housings eliminate that variable.
- Energy impact: Field data from Building Science Corp’s 2023 attic study shows unsealed non-IC + baffle setups added 1.8 kWh/fixture/month to heating load in Zone 5. Sealed versions? No measurable increase. IC-AT airtight models added 0.3 kWh—mostly from driver heat, not air leakage.
My recommendation? Match the housing to your insulation method—and your installer’s discipline.
If you’re using dense-pack cellulose or fiberglass batts and have a meticulous crew who’ll caulk every baffle: non-IC + gasketed baffles works. It’s cheaper, thermally sound, and avoids the “IC-washing” of subpar airtight claims.
If you’re using spray foam, loose-fill cellulose near rafters, or hiring a less experienced contractor: go IC-AT airtight. Yes, it costs more upfront. But it removes human error from the equation—and prevents callbacks when the first winter reveals frost on the bedroom ceiling.
One last note: never retrofit non-IC housings into insulated attics without baffles. I saw it twice last year. Both ended with insurance adjusters measuring char depth on attic framing. Don’t be that person.
The bottom line isn’t watts or lumens—it’s whether your light stays cool, tight, and code-compliant while keeping heat *in the room*, not leaking into the attic. Get the housing right, and the rest—dimmability, color tuning, beam spread—actually matters.