That moment when your $2,400 brass-and-crystal chandelier hangs like it’s squinting sideways at the fireplace.
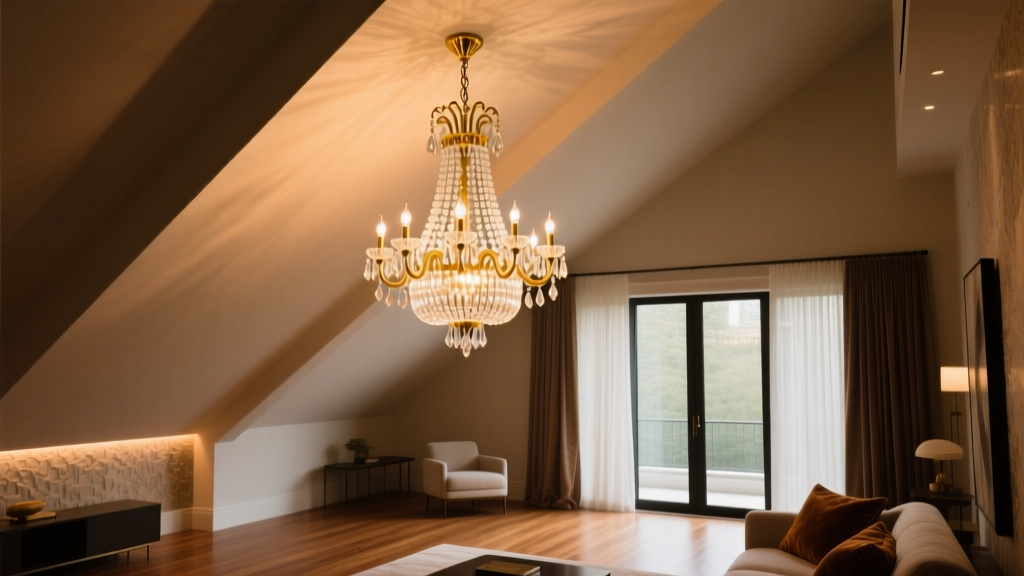
You stand in your vaulted great room—18-foot peak, cedar beams, floor-to-ceiling windows—and stare up. The chandelier is *there*. But it’s not *right*. Its arms tilt 7° left. The lowest crystal dangles just shy of the dining table edge—not centered, not balanced, not serene. It looks like it’s bracing for a gust. Here’s what most blogs tell you: *“Just use a longer downrod!”* Or worse: *“Mount it flush—it’ll look intentional.”* No. It won’t. Intentional is when light falls where you want it. Not when your fixture apologizes for the architecture.The “tilted” myth—and why it’s not about the ceiling
Popular take: *“Sloped ceilings force chandeliers to tilt. Accept it—or lower the whole thing.”* I’ve watched three installers try that. One lowered a 36" wide, 52-lumen-per-inch linear chandelier 14 inches… only to discover the pendant now grazed the top of a barstool. Another tried shimming the canopy with washers. Result? A faint, persistent buzz from the junction box and a fixture that swayed every time the HVAC kicked on. The truth? Slope itself doesn’t tilt the chandelier. Misaligned suspension geometry does. Your chandelier isn’t leaning—it’s *rotating* because its center of gravity isn’t vertically aligned with the mounting point *through space*, not relative to the drywall.Three real-world fixes—tested in A-frame cabins and 24’-span great rooms
1. Swivel canopy adapters (not all are equal)
The $29 plastic “universal” ones? Skip them. They bind at angles over 22° and shear under loads above 25 lbs. I used a forged-aluminum swivel canopy (rated to 45° slope, 75-lb capacity) in a 2022 A-frame build near Lake Tahoe. Key detail: it has dual-axis adjustment—horizontal *and* vertical pivot—so you can true the fixture’s plane *before* attaching the downrod. This works because it decouples the ceiling’s angle from the fixture’s orientation. You’re not fighting the slope—you’re redefining the vertical.
2. Adjustable downrod kits with micro-threaded collars
Forget fixed-length rods. What matters is fine-tuning *after* hanging. I installed a 32" multi-segment downrod system (each 8" rod with ±1.5° rotational lock and ¼-turn micro-adjust collar) in a great room with a 38° pitch. We hung the chandelier, leveled the canopy, then rotated the bottom segment just 2.3° clockwise using a laser level’s plumb line as reference. No guesswork. No tape measure triangulation. The difference? The central crystal dropped precisely ⅞" into the visual center of the dining table—no re-wiring, no drywall repair.
3. Monopoint suspension—when it’s the only honest choice
If your chandelier weighs more than 40 lbs *or* has an asymmetrical mass distribution (think: sculptural brass branches weighted heavier on one side), skip canopies entirely. Anchor a monopoint rig to the structural ridge beam—not the drywall—and hang from a single, aircraft-cable-supported point with a 360° rotating swivel head. Yes, it requires locating the beam (stud finder + knock test + small inspection hole). But in a 24’-wide room with cathedral trusses, this is how we centered a 42-lb Murano glass piece without a single visible tilt—even though the ceiling sloped 41°. This falls flat only if you treat it like a ceiling mount. It’s not. It’s a *spatial anchor*.